
Cyberpunk 2077 has been patched into a genuinely good state under Update 2.3, but the default settings are still set to make the game look impressive on a reveal screenshot, not to run well on hardware most people actually own. A handful of sliders are doing almost all of the damage. Pull those back, get DLSS or FSR working, and the game holds a stable 60fps on perfectly normal mid-range hardware at 1080p.
If you are on a common desktop card, one step above the machine I run this on, you are in a comfortable position. The advice here applies to you with less urgency. You have more VRAM headroom and more power budget, so the cuts are shallower and the result is easier to land. This is not a pessimistic guide. It is a guide for not leaving frames on the table by ignoring four settings that cost a lot and give back very little.
Everything here is built around Update 2.3, which CD PROJEKT RED published on 2025-07-16. That is the live 2.x baseline.
The machine I run this on and what I'm aiming for
My own gaming machine for this is an RTX 3060 Laptop GPU (6GB VRAM) paired with a Ryzen 7 5800H and 16GB RAM, running at 1080p. That is the hardware I build this advice around. It is a power-limited chip on a constrained VRAM budget, which makes it a harder target than it looks on paper. A desktop RTX 3060 (12GB) is a meaningfully different card with twice the VRAM and no power cap, and I scale up from there when it matters. At the weaker end, older 4GB cards and integrated graphics are a different problem entirely, and I cover that separately below.
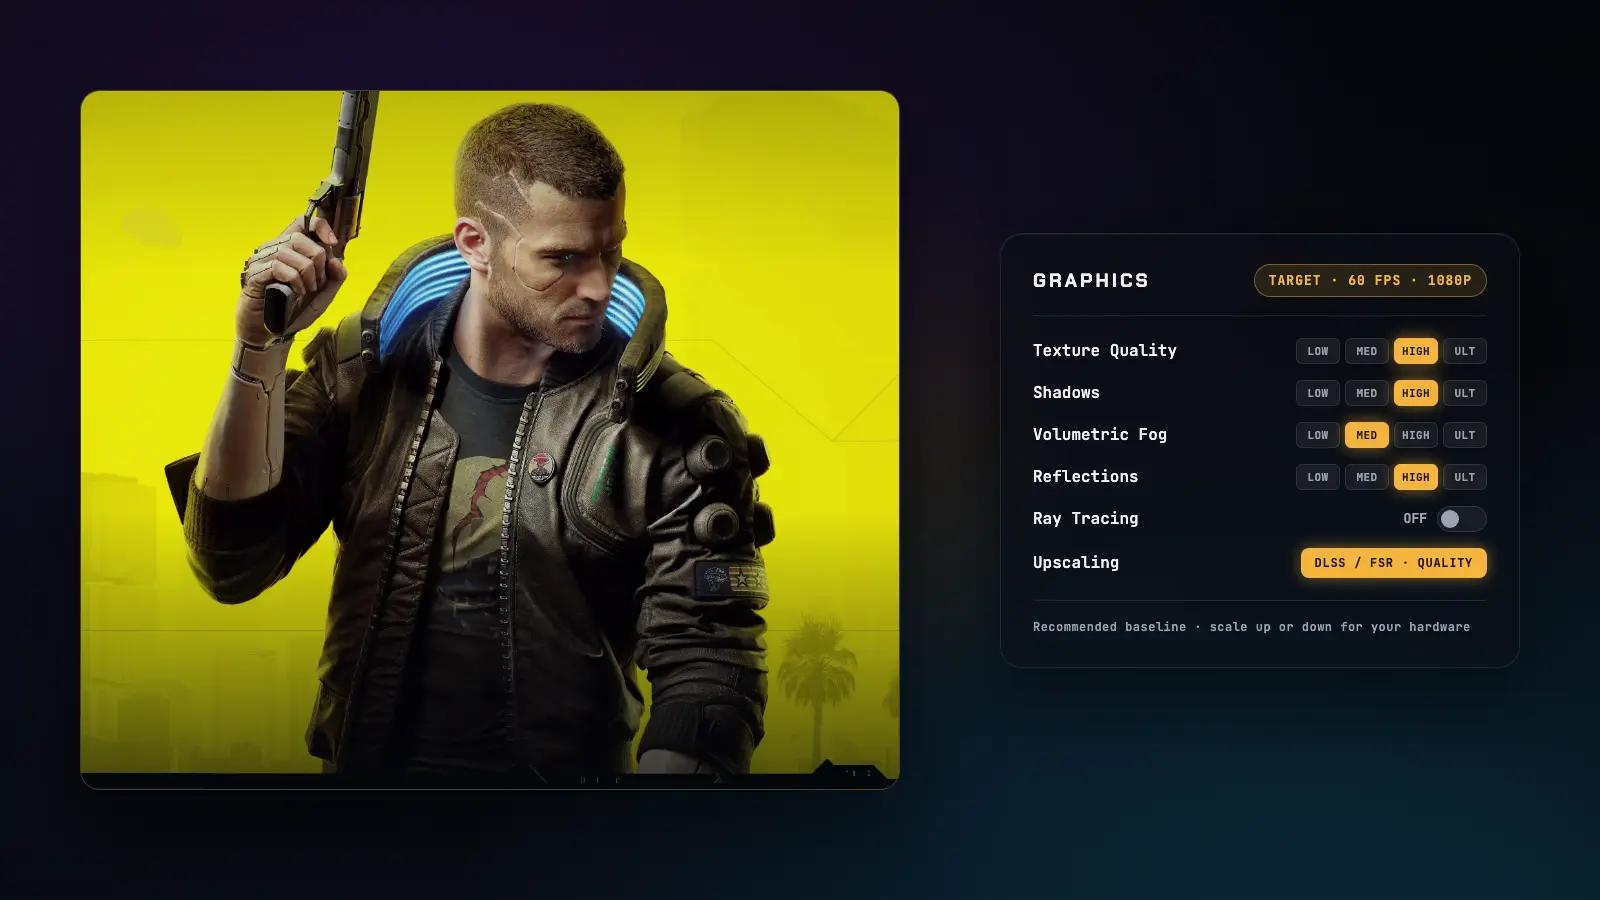
The goal on my machine is a stable 60fps at 1080p with raster settings. Not average 60fps on a clean route. Stable, including in the denser Night City districts. That requires DLSS Quality or FSR Quality upscaling, because without it the GPU is simply not fast enough at native resolution with settings worth keeping. It also requires treating texture quality as an active decision, because on a 6GB card it is not a free visual upgrade. VRAM, the graphics card's dedicated memory, fills up faster than you expect in this game.
Ray tracing, the real-time lighting and shadow simulation, is off the table at this tier. CD PROJEKT RED's own official requirements list the RT minimum as 1080p 30fps at RT Low on an RTX 2060-class card. On a power-limited 6GB laptop chip, ray tracing turns a near-60fps experience into something inconsistent and frustrating. Leave it off entirely. For a stronger desktop card, I flag where RT becomes worth revisiting.
The settings that actually cost you frames
Volumetric fog. This is the first thing I'd drop. Volumetric fog handles the atmospheric haze that fills Night City streets and corridors, the light scatter around neon signs and headlights. It looks striking. It also costs a meaningful chunk of your frame budget, and in motion the difference between High and Medium is far less obvious than a static screenshot suggests. On my 6GB machine, Medium is where I land this without hesitation. If you are on weaker hardware, Low is fine. On a stronger desktop card with more headroom, High is worth keeping.
Shadow quality. There are two shadow-related sliders worth knowing: Shadow Range and Shadow Quality. Both are expensive. Range controls how far shadow casting extends from the camera. Quality controls the resolution of those shadows. I'd set Shadow Quality to Medium and Shadow Range to Medium as well. The visual difference versus High is genuinely hard to notice during normal play, especially once you are moving. For older or weaker hardware, drop both to Low. On a stronger card, High Shadow Quality is worth restoring before anything else.
Screen space reflections. SSR handles the shiny-surface reflections on wet streets, puddles, and glass that are not covered by ray tracing. It is a heavy effect. Medium is the practical setting on my machine. High SSR on a 6GB laptop chip takes more than it gives. On weaker hardware, Low or Off is a reasonable call, because wet streets still look fine without crisp reflections once you are running the game at a sensible fps target. On a stronger card, High SSR is a nice visual restore.
Crowd density. This one is partly a CPU problem, not just a GPU problem. Crowd density controls the number of pedestrians and vehicles populating Night City's streets. Dense crowds hit the Ryzen 7 5800H as much as the GPU in heavy areas, and a dip here will cause frame pacing inconsistency even when your average GPU load looks fine. I'd set this to Medium. On weaker hardware, Low is the correct call and the visual difference is less jarring than dropping shadow quality. On stronger desktop hardware the CPU usually has more headroom, so High is reasonable.
Texture quality and VRAM. This is the setting where a 6GB card requires active management rather than a set-and-forget approach. The game's High texture setting pushes VRAM usage into territory that can overflow the card's budget in dense areas, producing stutters and inconsistent frame pacing that look like a frame rate problem but are actually a memory problem. On my machine, I set textures to Medium. That sounds like a big visual sacrifice and in practice it largely is not, because Cyberpunk's base geometry and lighting carry most of the visual quality. If you have a desktop card with 12GB of VRAM, High textures are fine and I'd restore them first. For weaker hardware with 4GB or less, Low textures are not optional.
Upscaling. DLSS Quality or FSR Quality is not optional on my machine, it is required. Without upscaling, the card is rendering at native 1080p against a fully loaded scene and the fps target becomes unreachable. DLSS Quality, which is NVIDIA's neural upscaling, renders at roughly 75 percent of native resolution and then reconstructs the image. The results on my machine are clean enough that I stopped noticing it. If you are on an NVIDIA card, use DLSS. On AMD hardware, FSR Quality is the equivalent. XeSS is the Intel option and works on any GPU, though results vary more by hardware. On weaker hardware, DLSS or FSR Performance mode gives more headroom at a visible but acceptable image quality cost. On stronger desktop cards, you can still run DLSS Quality or even DLSS Balanced for the sharpness benefit, though native resolution becomes achievable with a bit more work at settings.
Ray tracing. Off. All of it. CD PROJEKT RED places the RT minimum at 1080p 30fps on an RTX 2060-class card, and a power-limited 6GB laptop GPU sits below that in real-world headroom. Enabling RT on my machine produces numbers too inconsistent for comfortable play the moment you leave an enclosed interior and hit open streets. For a desktop RTX 4070 or stronger at 1440p, selective RT is where it becomes interesting: Reflections and Local Shadows at RT Low or Medium with DLSS Quality gives a visible quality lift without the full cost. Path tracing, which is full scene ray tracing across all light paths, is a premium feature for the highest-end cards and is not a primary recommendation anywhere in this guide.
Everything else and whether it matters
Ambient occlusion. Ambient occlusion adds contact shadows in corners and where objects meet surfaces. Ray-Traced AO is off already if you followed the above. The raster AO option is fine at Medium. It is not the biggest frame contributor and the visual difference between Medium and High is subtle enough that I would not lose sleep over it either way.
Mirror quality. This controls the resolution of reflections inside in-game mirrors. High is fine on most hardware. It is not a major frame cost in open world traversal where it barely factors in. Drop it to Medium only if you are very VRAM constrained and have already pulled everything else back.
Anisotropic filtering. Leave this at 16x. The performance cost is essentially nothing on modern GPUs and it keeps textures sharp at angles. Do not touch it.
Cosmetic toggles. Motion blur, film grain, chromatic aberration, and depth of field are all visual style choices rather than performance levers. None of them meaningfully affect frame rate. I turn motion blur and film grain off because I find them distracting, but that is personal preference. Chromatic aberration and depth of field are the same story. Toggle them to taste and do not factor them into a performance decision.
Stutter in dense areas. Even after tuning, CPU-bound stutter in dense Night City areas is a known pattern in the 2.x era. Players report this consistently, especially during fast travel arrival or when first loading into a busy district. The first few minutes after a load are often rougher than the next ten, as shaders and assets settle into the cache. This is not something you tune away entirely. It improves after the first pass through an area, and keeping VRAM usage under control by not overstacking textures reduces how often it compounds into something more disruptive.
Driver and launcher things worth a quick check
GPU driver currency. Cyberpunk 2077 updates have historically shipped with companion driver updates that improve performance or upscaling quality. Check that your GPU driver is current before concluding the settings are at fault for something. NVIDIA and AMD both push game-ready or adrenalin driver versions around major game patches.
Shader pre-compilation. On first launch after a fresh install or a major patch, the game will compile shaders. Let it finish. Skipping ahead before compilation completes or running the game while it is still working through shaders in the background is the single most reliable way to produce the hitching and stutter that players then spend hours troubleshooting in the settings menu. Give it five to ten minutes on the first run.
SSD storage. CD PROJEKT RED lists SSD storage as a requirement, not a recommendation, in the official 2.x system requirements. Cyberpunk streams a dense open world continuously, and slow storage exposes hitching that no settings change will fix. If the game is installed on a hard drive and traversal stutter is your main problem, a storage upgrade is a more direct fix than anything in the graphics menu.
What to expect after you make these changes
On a machine like mine, the tuned profile lands at a stable 60fps at 1080p across most of Night City with the settings above: Medium fog, Medium shadows and shadow range, Medium SSR, Medium crowd density, Medium textures, DLSS Quality or FSR Quality, ray tracing off. Dense street areas and market districts will still produce occasional dips, particularly in the first pass through after a fast travel. That is partly structural in the game's CPU workload and partly the laptop power limit doing what it does. After the first pass settles, those areas become more consistent.
On a stronger desktop card with 12GB of VRAM, the common desktop tier is a more comfortable position. High textures and High SSR can be restored, crowd density can go to High, and 60fps becomes easier to hold without relying as heavily on upscaling. If you are sitting on older or weaker hardware, the target is 30 to 45fps with aggressive cuts: Low crowd density, Low shadows, Low fog, FSR Performance, and textures at Low. It is playable. It is not the Cyberpunk 2077 the game is trying to show you, but it runs.
All of this advice is anchored to Update 2.3. A future patch, a driver update, or a new upscaler revision could shift the picture. The hierarchy of cuts is durable, but the exact headroom on any given setting is worth re-checking if a significant update ships.